
How to cleana handgun
Cleaning a handgun starts with proving it is unloaded, by sight and by touch, with no ammunition in the room. After that it is a short, repeatable job: take it apart as far as the owner’s manual shows, clean the barrel and the working surfaces, wipe everything dry, oil it lightly, put it back together and check that it works.
Clean it after every range session, and periodically if it is a firearm you keep for defense. You need a handful of basic tools and the manual for your exact model. And yes, someone can do it for you: we clean and oil firearms as a service, and we teach a class if you would rather learn to do it properly yourself.
- First step, always
- Unload, then confirm the firearm is clear by sight and by touch
- What governs
- The owner’s manual for your exact model
- How often
- After every range session, and periodically for a firearm kept for defense
- Covers
- Modern semi-automatic pistols and revolvers, in general terms
- Last checked
- November 2026
Why does cleaning a handgun matter?
Every shot leaves something behind: burnt powder, and traces of metal from the bullet and the primer, the small cap that ignites the cartridge. That residue builds up on the parts that have to slide, turn and lock. Left alone, it slows them down, and a handgun that moves sluggishly is a handgun that can fail to feed, fire or eject.
So the first reason is reliability. A clean firearm is a reliable one, and a firearm kept for defense has exactly one job on the day it is needed.
The second reason is safety. Cleaning is the one time an owner looks closely at their own firearm and handles every major part of it. People who clean their handgun know how it comes apart, how it goes together and what normal looks like, and that familiarity is a large part of handling it safely everywhere else.
What do I need to clean a handgun?
Less than most people expect. A basic kit matched to your caliber covers almost all of it, and the most important item on the list came in the box with the firearm.
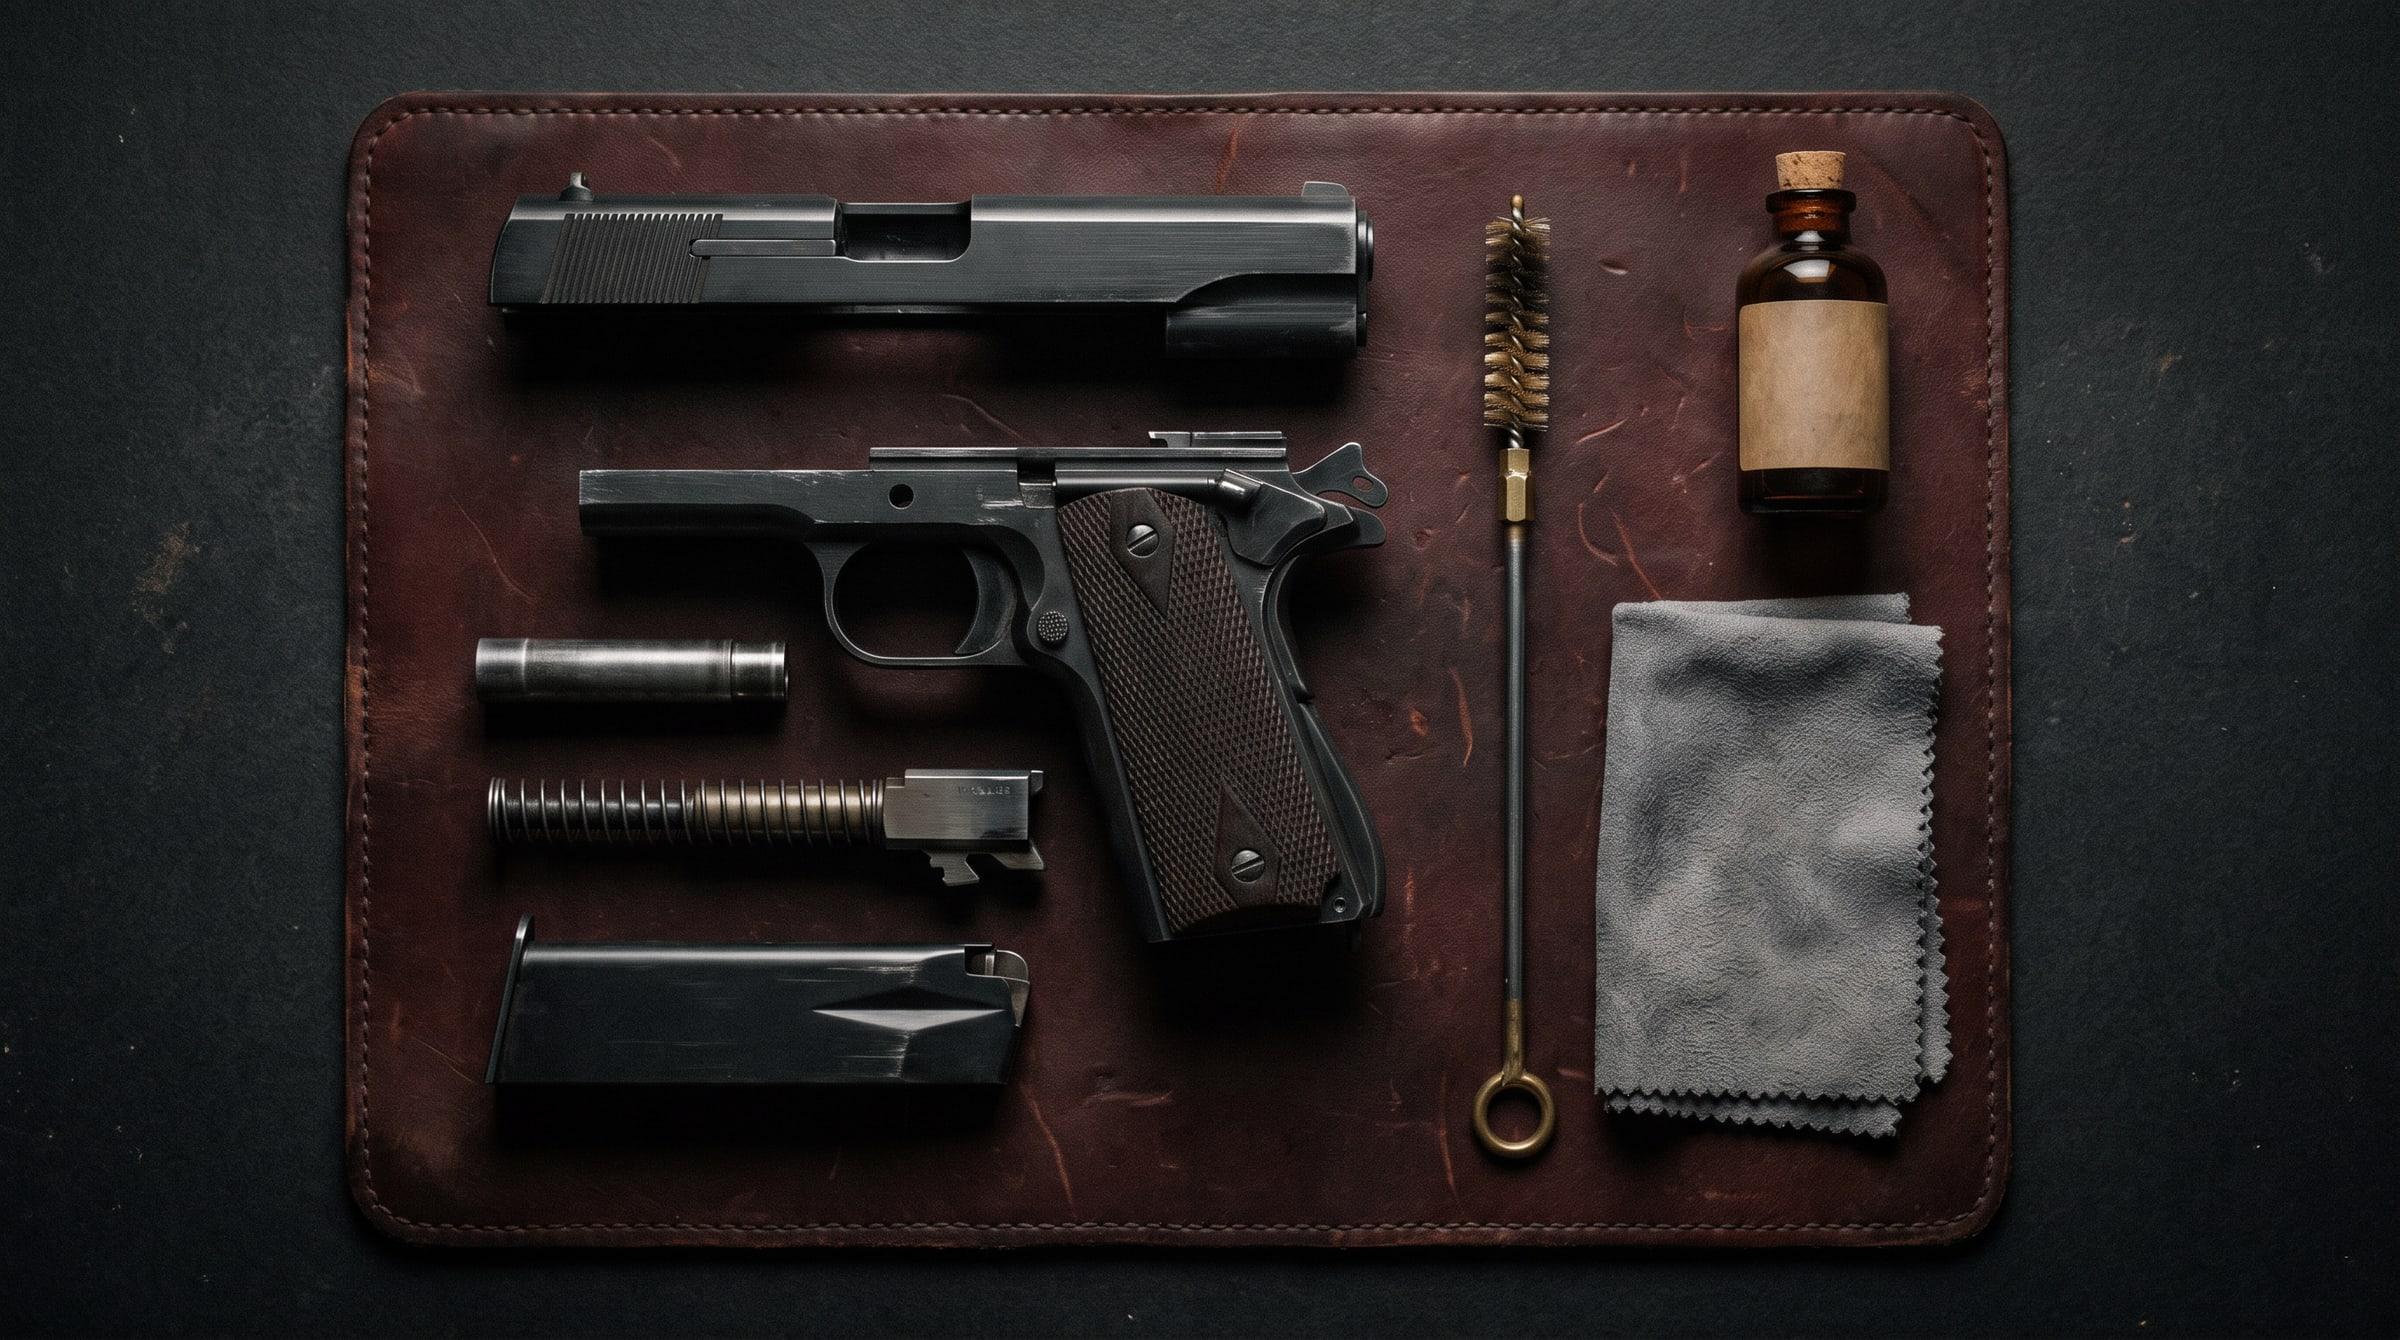
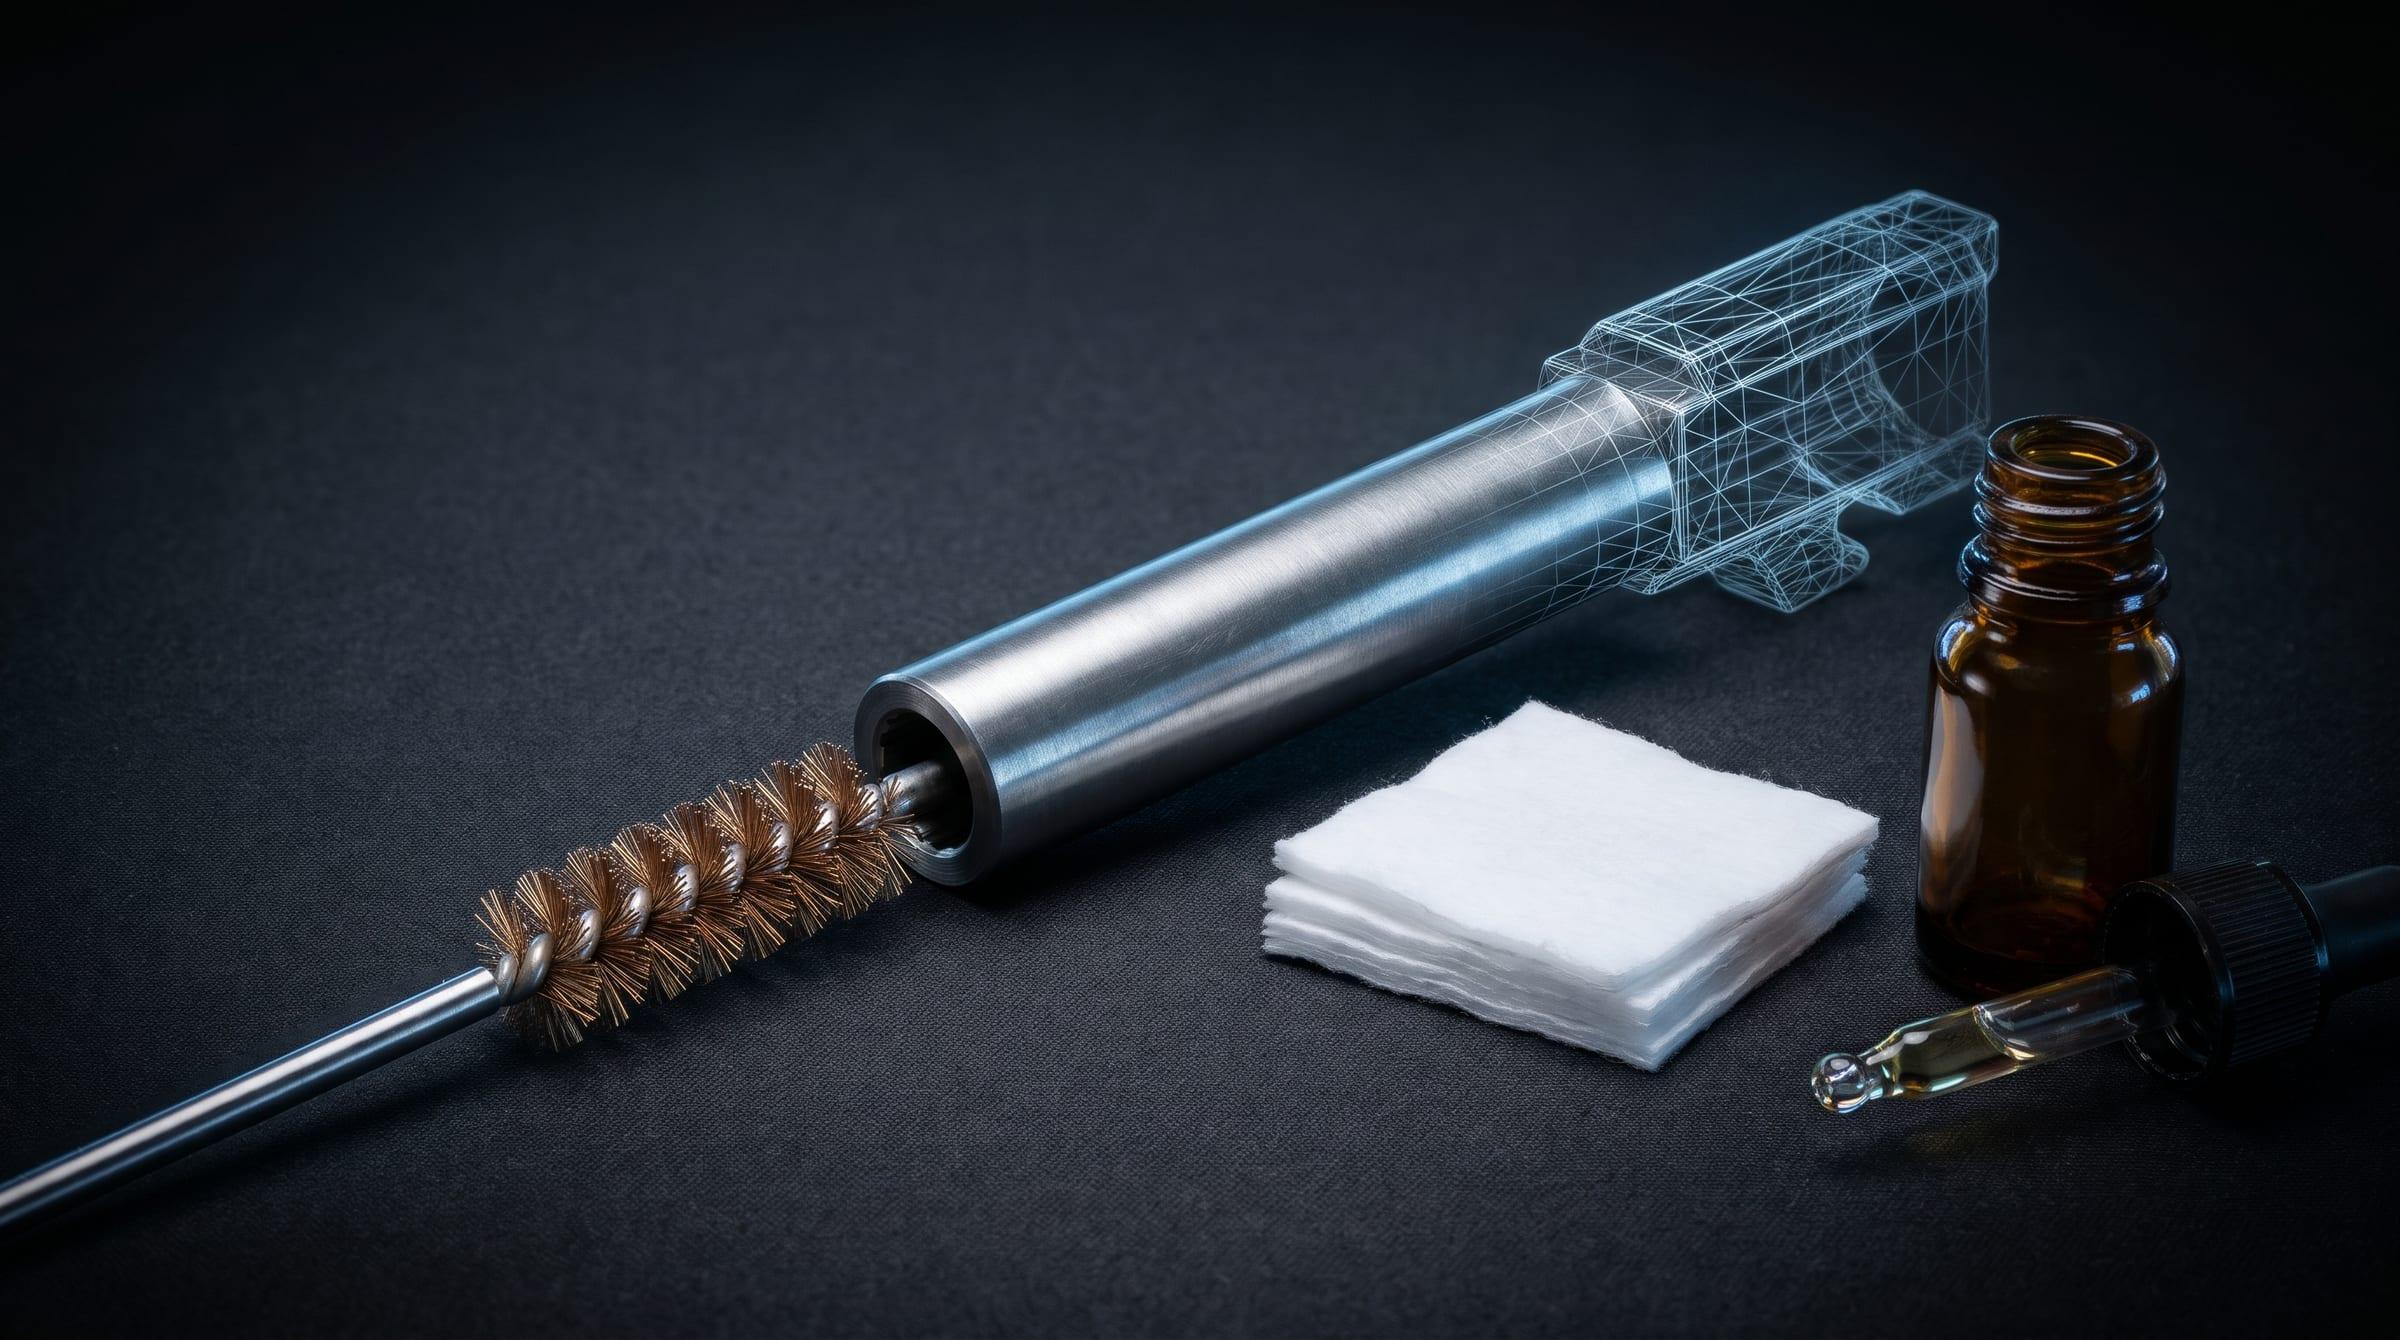
- The owner’s manualIt shows how your model comes apart, where it is oiled and how to check it afterwards.
- A clear, well-lit surfaceA mat or an old towel, so small parts stay where you put them.
- A cleaning rod or pull-throughSized for your caliber, to carry a brush and patches through the barrel.
- A bore brushMatched to your caliber, to loosen fouling inside the barrel.
- Cotton patchesTo carry solvent in and bring fouling out.
- A small nylon brushFor the corners of the slide, the frame or the cylinder.
- Firearm cleaning solventA product made for firearms, used as its label directs.
- Firearm oilA product made for firearms. You will use a few drops.
- Lint-free clothsOne for wiping parts dry, one for the final wipe-down.
- Eye protection and glovesSprings are under tension, and solvent does not belong on skin or in eyes.
Lost the manual? Ask the maker of your firearm for a replacement, and have the one for your exact model in front of you before you take anything apart.
What is the first step?
Make the firearm safe. Not quickly, not from memory, and not because you are sure you unloaded it last time. Every step below happens every time, in this order.
Before anything else
Unload and verify clear
- aPoint the firearm in a safe direction and keep your finger off the trigger. Both stay true until the firearm is back together.
- bPistol: take the magazine out first and set it aside. Then lock the slide to the rear.
- cRevolver: open the cylinder and empty every chamber.
- dLook into the chamber, and into the magazine well, and see that they are empty. On a revolver, look at every chamber.
- eFeel the chamber with a fingertip. Sight can be fooled by poor light or by habit; touch is the second check.
- fMove every round of ammunition, and every loaded magazine, out of the room.
- gIf you step away, or anyone hands the firearm to you, check it again from the start.
Some pistols are designed so that the trigger has to be pressed as part of taking them apart. That is one more reason this step has no shortcut: the firearm must already be proven empty, and pointed in a safe direction, before that moment arrives.
What is the cleaning sequence?
What follows is the general sequence for a modern semi-automatic pistol and for a revolver. It is not a substitute for the owner’s manual. Handguns differ in how they come apart, where they are oiled and how they are checked, and where this page and your manual disagree, the manual is right.
- 1Slide: rides on the frame and carries the barrel
- 2Barrel: the bore and the chamber
- 3Recoil spring: returns the slide forward
- 4Frame: the grip and the controls
- 5Magazine: holds and feeds the ammunition
- 2
Field strip, as the manual shows
Field stripping is the basic takedown the maker intends an owner to do. A pistol usually comes apart into its slide, barrel, recoil spring, frame and magazine. A revolver usually does not come apart at all: the cylinder swings open and that is enough. Go no further than the manual shows.
- 3
Clean the barrel
Push a solvent-wet patch through the bore, then the brush, then dry patches until one comes out clean. Where the design allows, work from the chamber end toward the muzzle. On a revolver, clean each chamber of the cylinder the same way.
- 4
Clean the slide and frame, or the cylinder and frame
Brush and wipe away the dark powder residue where it collects: on a pistol, the face of the slide where the cartridge sits, the rails the slide rides on and the ramp that feeds each round; on a revolver, the front face of the cylinder, the area around the rear of the barrel and under the extractor. Wipe the outside of the magazine. Follow the manual on where solvent must not go.
- 5
Wipe everything dry
Solvent has done its work once the fouling is loose. Wipe every part until the cloth comes away clean and no solvent is left sitting in a corner.
- 6
Oil lightly
Put a small drop of oil at each point the manual names, and nowhere else. Then wipe away anything you can see pooling. A thin film on outside metal surfaces helps against rust in Florida humidity.
- 7
Reassemble
Put the parts back in the order the manual gives. Nothing should need force. If a part does not seat, stop and read the page again.
- 8
Function check, as the manual describes
With no ammunition anywhere near, run the check the manual sets out for your model. It confirms the firearm went back together correctly. If it does not pass, do not load it: take it apart and reassemble it, and if it still does not pass, take it to a gunsmith or the manufacturer.
- 9
Wash your hands
Wash with soap and water before you eat, drink or touch your face. Then put the solvent, the oil and the used patches away, out of the reach of children.
Pistol or revolver: where the work differs
| Step | Semi-automatic pistol | Revolver |
|---|---|---|
| Making it safe | Magazine out first, then slide locked back, then the chamber checked by sight and touch. | Cylinder open, every chamber emptied and checked by sight and touch. |
| Taking it apart | Field strip into the main assemblies, as the manual shows. | Usually none. The cylinder swings open for cleaning. |
| The barrel | One bore, usually cleaned from the chamber end with the barrel out. | One bore, plus every chamber in the cylinder. |
| Where residue collects | Slide face, slide rails, feed ramp. | Cylinder face, around the rear of the barrel, under the extractor. |
| Ammunition feed | The magazine: wipe it, and take it apart only if the manual shows how. | No magazine. The chambers are the feed. |
How much oil does a handgun need?
Very little. Oil is there to leave a thin film between metal surfaces that move against each other, and to keep moisture off steel. The manual names the points; a small drop at each is the whole job. If you can see oil pooling or running, there is too much, so wipe it back.
Too little
Metal runs on dry metal. Parts wear faster and bare steel can rust.
Right
A thin film at the points the manual names. You can barely see it.
Too much
Oil runs where it should not go and collects dust and powder residue.
How often should I clean my handgun?
Our general guidance: clean it after every range session, and periodically if it is a firearm you keep for defense, even if it has not been fired.
After shooting, the reason is the residue. A firearm kept for defense has a different problem: it sits. A handgun that is carried collects lint and sweat, and one that stays in a drawer or a safe still collects dust while its oil slowly dries. Taking it out on a regular schedule to wipe it down, check the oil and run the function check is how you know it is ready, rather than assuming it.
That is guidance from instructors, not a figure from an authority. The manual for your model may set its own schedule, and where it does, follow the manual.
What are the common mistakes?
- Too much oil
- More is not safer. Extra oil runs to places it was never meant to be and holds on to dust and powder residue. A few drops, then wipe.
- Mixing up parts
- Lay parts out in the order they came off, facing the way they came off, and clean one firearm at a time. Parts from two similar handguns are not interchangeable just because they look alike.
- Cleaning with ammunition nearby
- A loaded magazine on the same table is how an unloaded firearm becomes a loaded one without anyone deciding it should. Ammunition stays in another room until the function check is done.
- Skipping the function check
- The check is the only proof the firearm was reassembled correctly. Finding out at the range, or when you need it, is too late.
- Going past the field strip
- Taking a handgun down further than the manual shows is work for a gunsmith. So is changing, filing or polishing any part.
Why wash your hands afterwards?
Because of lead. The residue you have just wiped off a fired handgun can contain it, and it travels from your hands to whatever you touch next. The federal guidance written for firing ranges says the same thing in plain terms.
The National Institute for Occupational Safety and Health, in its Alert on lead and noise at indoor firing ranges (Publication 2009-136), recommends that “hands should be washed with soap and water or cleaned with lead decontamination wipes after shooting, handling spent cartridge cases, or cleaning weapons.” The same document tells range workers to “wear gloves and eye protection when using chemicals to clean weapons or firing range surfaces.”
The Occupational Safety and Health Administration’s QuickCard for indoor firing ranges (OSHA 3771) puts it in two lines: “Wear gloves when cleaning guns or wash hands with lead-removing soap afterward,” and “Wash your hands before eating, drinking, or smoking.”
Both documents were written about firing ranges, for the people who work and shoot there. The habit they describe is just as sound at a kitchen table: no food or drink where you clean, gloves if you have them, and soap and water before anything else when you finish. For the solvent and the oil, the product label is the instruction: use them with fresh air moving through the room, and store them closed and out of the reach of children.
Can someone clean it for me?
Hand it over: our cleaning service
Yes. National Safety Center is a licensed dealer in Maitland, and gun cleaning is one of our services. You book a drop-off time online, bring the firearm in unloaded with no ammunition, and we fully clean and oil it and hand it back to you in person. We take pistols, revolvers, rifles and shotguns.
Be clear about what that is. The service is a full clean and oil. It is not an inspection, a repair or gunsmithing, and we do not test or certify a firearm. If yours has a fault, that is a job for a gunsmith or the manufacturer. The current prices and how drop-off and pick up work are on the gun cleaning page.
Learn it properly: the Cleaning and Maintenance class
Reading a sequence is not the same as doing it with someone beside you who will stop you the moment a step slips. Our Cleaning and Maintenance class teaches you to strip, clean and oil your own firearm. It runs as a group class, and privately if you would rather work one to one.
Either way, the handling habits in step one are the same ones that keep a firing line safe. Our article on range safety and proper training sets them out, and there is more reading in the NSC Hub.
This page is general information written by firearms instructors, checked in November 2026. It describes a general sequence and is not a substitute for the owner’s manual for your firearm, which governs how it is taken apart, oiled and checked.